Step 1: Installation
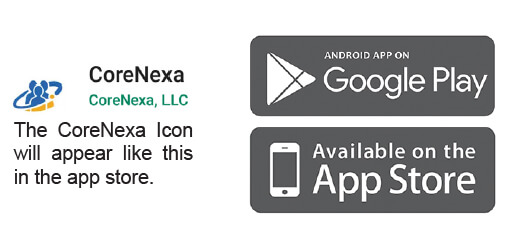
• Search for the free CoreNexa app in the Google Play store for Android users and the App Store for iPhone Users.
• Download and Install the CoreNexa app.
Step 2: Signing into the Mobile App
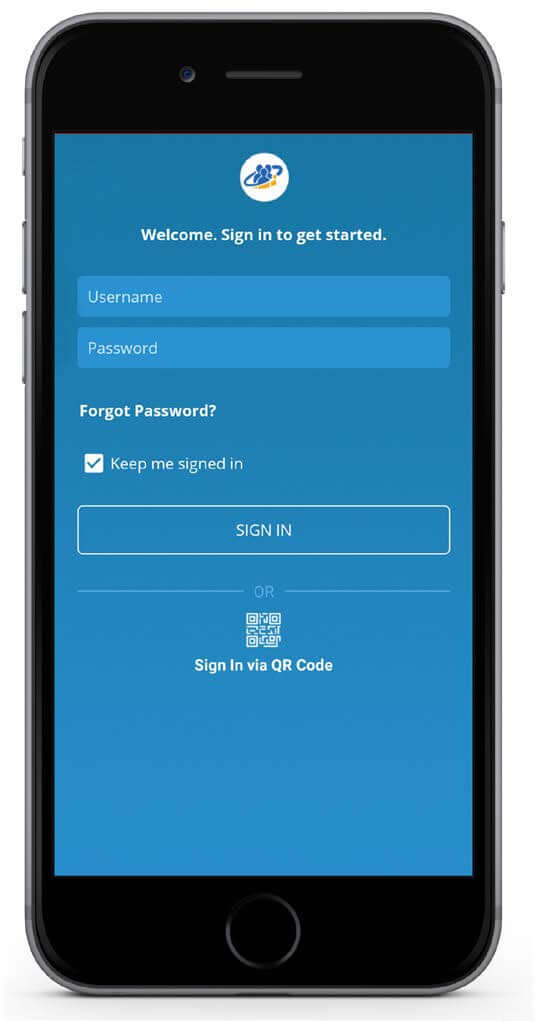
Sign into the mobile app with the configured user names and passwords that you have set up in the VoIP configuration panel or with the info provided to you by Southpointe Telecom. After your first sign in you will be prompted to set your calling options. If accept inbound calls is selected the app will ring simultaneous with your desk phone.
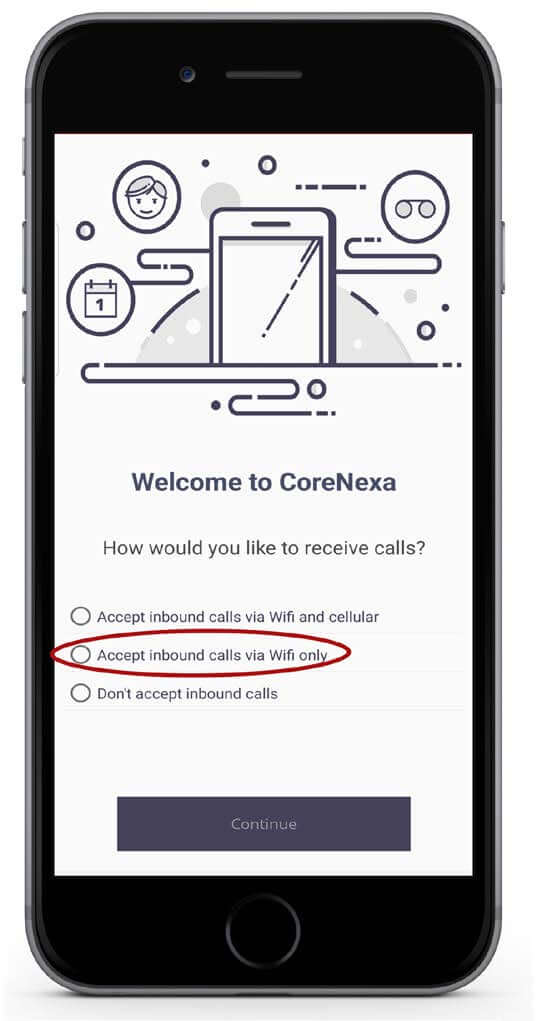
Step 3: Choose calling preferences
When making or receiving calls from the CoreNexa mobile app it is highly recommended that you are connected to a stable WiFi network or in an area of consistent 4G cellular data. Without a quality connection users would experience poor call quality and call dropping. For best performace, choose only accepts calls via WiFi only.
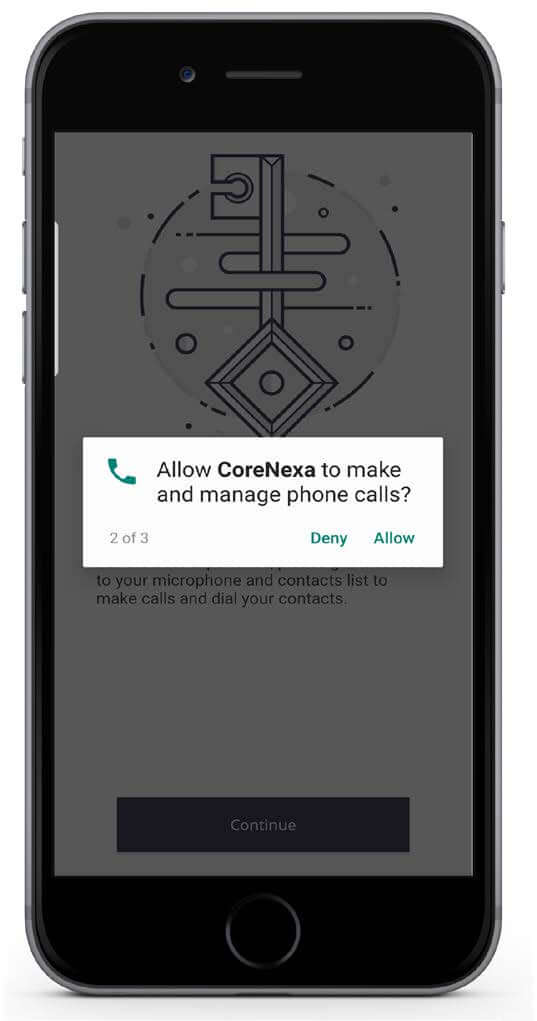
Step 4: Giving the mobile app permissions
The Corenexa app will ask you to grant permissions to contacts, to make and manage phone calls, and for recording. These permissions must be granted to allow for full functionality of the app.
Finishing Installation
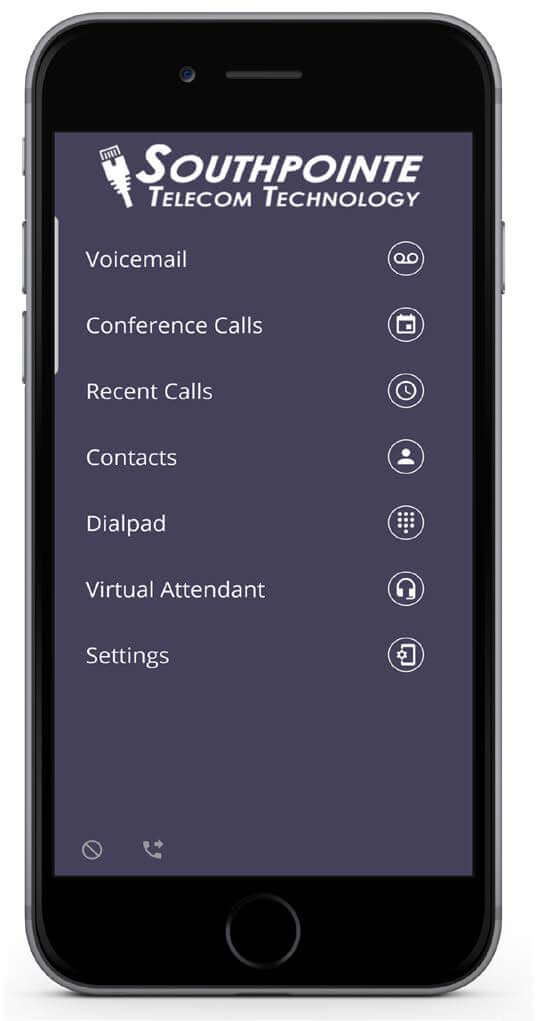
The mobile app is now installed. From the home screen you can make and receive calls, check voicemails, join conference bridges, and modify virtual attendants.
![]()
Questions? Call us 412-646-6262 Ext 24